
A residential roof installation is a significant project that can transform your home while protecting it from the elements for years to come. Knowing what to anticipate can help you feel confident and prepared throughout the process. When you know what to expect during a residential roof installation and have clear communication from your contractor, the process can run smoothly, giving you peace of mind and a durable, well-installed roof.
Pre-Installation Inspection
Before starting the project, a comprehensive inspection of your existing roof will ensure a solid foundation for the new installation. The contractor will thoroughly examine the roof’s structure for any signs of damage, leaks, or weak areas that may compromise the new roof. Contractors will identify issues such as rot, water damage, or structural concerns, and then make a plan to address them before installation.
Material Selection and Delivery
Choosing the right roofing material is an important step in the process. You’ll work with your contractor to select a material that not only matches your home’s aesthetic but also suits your climate and fits your budget. Some of the most common options include:
- Asphalt shingles
- Metal roofing
- Clay tiles
It is best to talk with your contractor about the best material to use for your roof.
Setting Up the Worksite
On the installation day, the crew will arrive early to set up the worksite. This includes preparing the area to ensure the safety and cleanliness of your property. Tarps or protective coverings go down to shield your landscaping, siding, and other surrounding areas from falling debris. The team will also identify a designated area to store tools, materials, and waste during the project to keep everything organized and efficient.
Removing the Old Roof
The first major step in the roof installation process involves stripping the existing roof down to the decking. This step is labor-intensive and can be noisy, but it’s essential in preparing the structure for the new roof. The crew carefully removes old shingles, underlayment, nails, and other materials. This process allows them to fully assess the condition of the decking below and ensures a clean surface for the new layers.
Decking Inspection
Once the old roofing materials are gone, it’s time to inspect the decking of your roof, looking for damage such as rot, mold, or weak spots. The crew may replace or repair damaged sections to ensure the roof is structurally sound and ready to support the weight of the new materials. This step is crucial to avoid future issues and ensure the integrity of the roof.
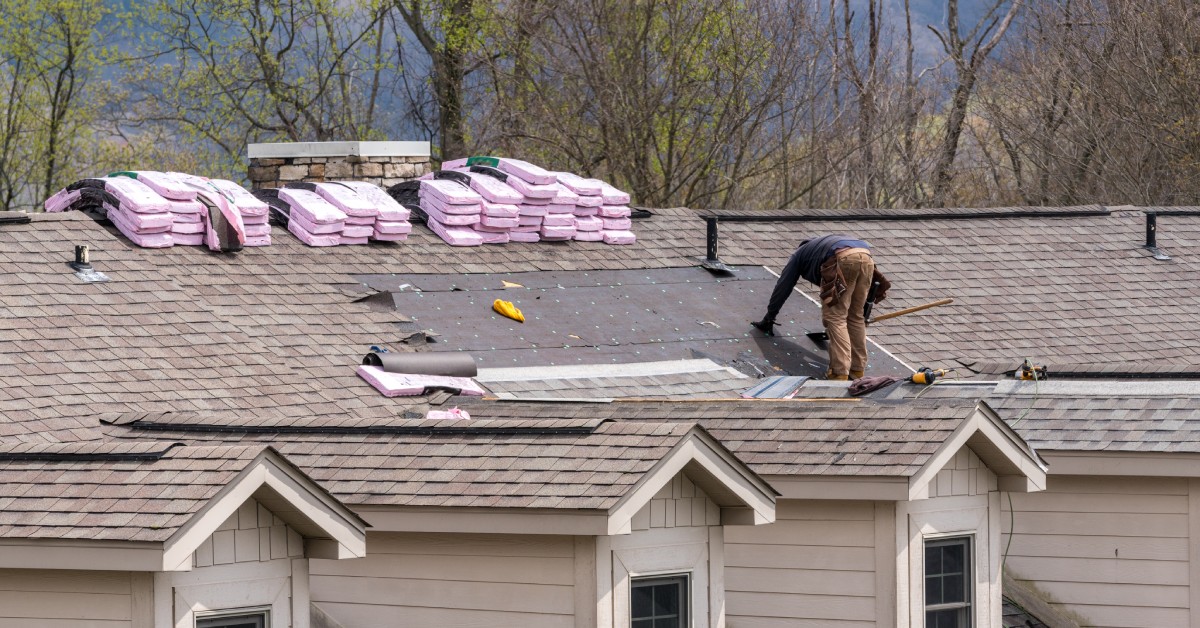
Installing a Protective Underlayment
After repairing the decking, your team will install a protective underlayment over the surface. This layer, which is often made of water-resistant or waterproof material, serves as an additional barrier against moisture intrusion. It helps protect your home from leaks and water damage, especially during heavy rain or snow. The underlayment is carefully secured to ensure full coverage and durability.
Addressing Ventilation
Proper roof ventilation is a frequently overlooked but absolutely essential aspect of the installation process. Ventilation systems, such as ridge vents, soffit vents, or attic fans, ensure adequate airflow throughout your attic. Without proper ventilation, your attic can become a hotspot for temperature imbalances and moisture buildup, leading to serious issues like:
- Mold
- Growth
- Ice dams
- Excessive heat
By maintaining a consistent flow of air, proper ventilation not only protects the roof but also improves energy efficiency in your home, keeping cooling and heating costs manageable.
Flashing and Sealing
Flashing plays a critical role in protecting vulnerable areas of your roof from water penetration. These are the spots most susceptible to leaks, such as valleys, chimneys, skylights, dormers, and vents. During the installation process, the crew carefully inspects all existing flashing for wear or damage, replacing it where necessary or adding new flashing to reinforce protection.
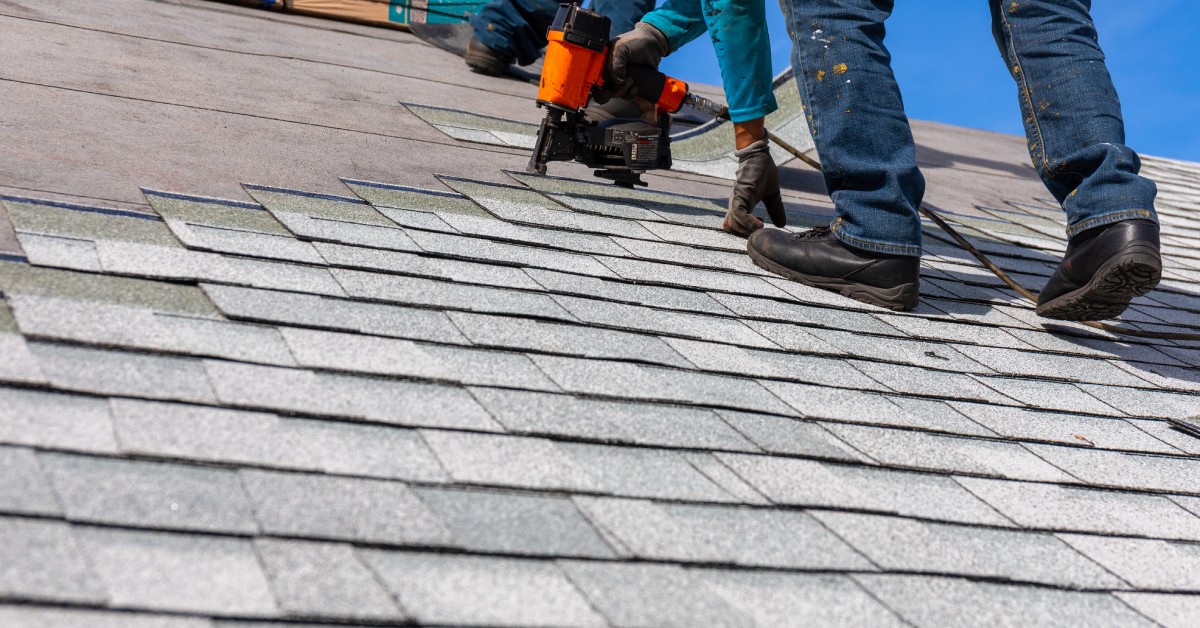
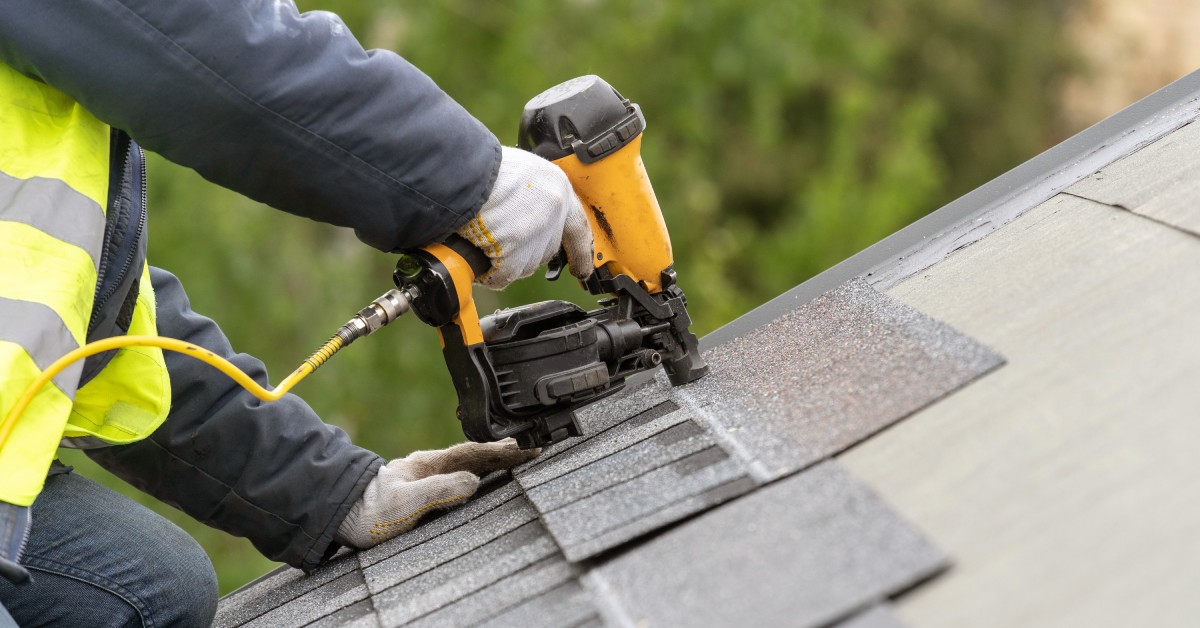
Laying the Roofing Material
With all the preparatory steps complete, it’s time to install the new roofing material. Whether it’s traditional asphalt shingles, sleek metal panels, durable slate tiles, or another option, this stage is something you need to handle with precision and care. The crew ensures a proper alignment, secure fastening, and adherence to the manufacturer’s installation guidelines to maximize the roof’s performance. Proper installation of the material is what provides the roof’s strength, weather resistance, and ability to protect your home for decades.
Cleanup as the Work Progresses
Roof installations can generate a significant amount of debris, including old shingles, nails, flashing, and packaging materials. To keep the site safe, organized, and tidy, the crew conducts ongoing cleanup throughout the project. This proactive approach minimizes clutter, reduces hazards, and ensures that the project area stays manageable and professional. Maintaining a clean worksite is not just about appearances; it’s also a critical part of ensuring safety and efficiency throughout the project.
Final Inspection of the Roof
Once the installation is complete, the contractor performs a comprehensive inspection of the roof to ensure every detail meets industry standards and the agreed-upon plan. This final check involves examining the alignment of the roofing materials, verifying that all fastenings are secure, and ensuring that the contractor has installed everything correctly.
Addressing Punch List Items
If minor fixes, adjustments, or touch-ups come up during the final inspection, they are addressed during this stage. The contractor carefully reviews a “punch list” of items that need attention to ensure your complete satisfaction with the project. Whether it’s fixing a misaligned shingle or reinforcing a seal, these adjustments are incredibly important.
Professional Site Cleanup
After finishing the work, the crew conducts a thorough and professional site cleanup. This process involves removing all tools, leftover materials, and debris from your property. The team also uses magnetic sweepers to collect stray nails, screws, or other metal fragments, ensuring no hidden hazards remain. A professional cleanup not only reflects the contractor’s commitment to quality but also leaves you with peace of mind as you enjoy your new roof.
Review and Warranty Information
The final step in the roof installation process is a review meeting with your contractor. During this discussion, they’ll walk you through important details about your new roof, including maintenance tips to help preserve its condition and extend its lifespan. They’ll also explain any warranties associated with the roofing materials and workmanship, giving you a clear understanding of what’s covered and how to address any future issues.
When you know what to expect during a residential roof installation, you can help plan the process so everything runs smoothly. When you understand each stage of the process, you’ll be able to approach the project with confidence and get the right people for the job, like us at B.E. Shank Contracting.
Our Harrisburg, PA, roofing installation services can help provide you with peace of mind for years to come! Whether you’re replacing an old roof or building a new one, this process ensures that your home has a durable, reliable, and beautiful roof that meets your needs.